Music is a creative art. It allows us to express ourselves, whether we’re making it or just listening. But did you know there can be much more creativity to music than just the sounds. Of instruments or singing.
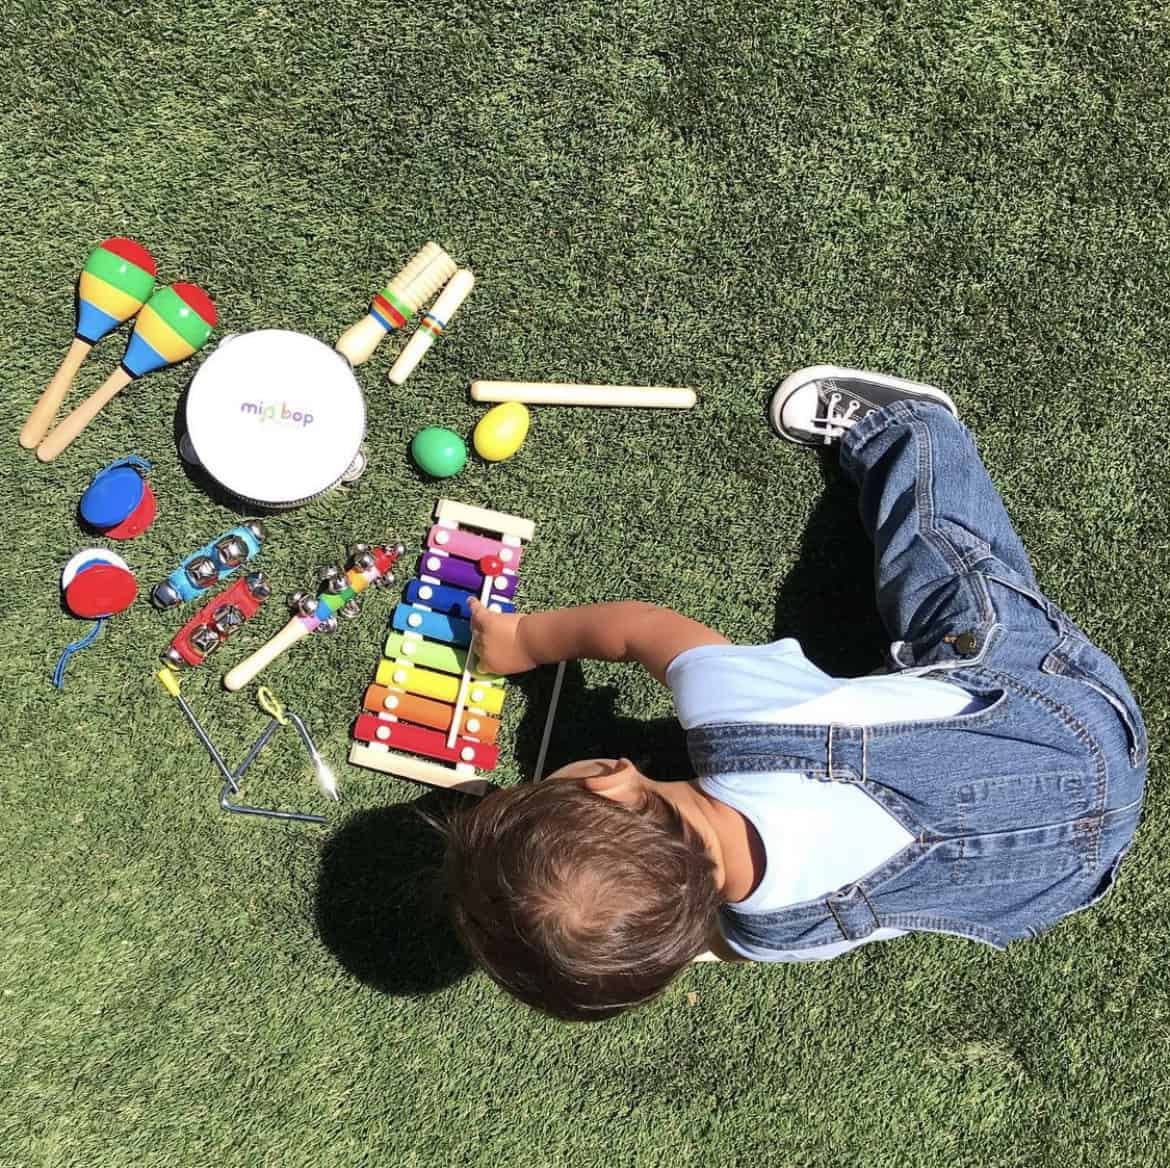
There’s nothing quite like enjoying music with your kids. Whether you’re showing them your favorite songs on those disc things called CD’s, or you’re letting them sing karaoke, music facilitates amazing bonding and development.
But there’s something you can do to take the fun and learning a step further…make your own instruments!
Here are MiniBop’s 3 musical instruments you can make DIY-style at home:
Cardboard Guitar (or Ukulele)
Everyone loves guitar! It’s easy to make your own with some simple household items
Materials Needed:
-
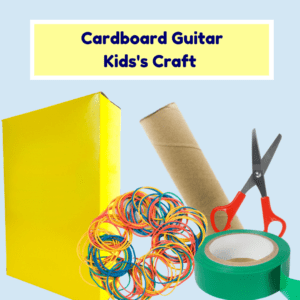
- Large cereal-type box (or even a smaller tissue box – for a ukulele)
- Cardboard tube (from a paper towel or wrapping paper roll)
- Decorating materials (colorful paper, glitter sticks, etc.)
- Scissors
- Rubber bands (long stretchy ones!)
- Strong tape (duct tape or packaging tape)
Ok – now let’s make it!
Directions:
-
- Cut 2 holes – a small hole on top (the small side) and a larger hole on the front. If you’re using a tissue box, the pre-cut tissue hole works great as this larger hole!
- Make several small cuts at the far end of the tube (away from the box). You’ll “hook” the rubber bands into these later.
- Insert the tube into the hole you cut and tape it securely in place.
- Stretch the rubber bands from the bottom of the box up to the end of the tube, and secure them in the cuts. At the other end, you can secure them with more cuts or tape.
- Now decorate however you’d like and start jamming!
Coffee Tin Drum
Make one, or craft an entire drum set for your little one to bang away. Don’t worry – it’s not as loud as a real drum ☺
Materials Needed:
-
- A coffee tin or other similar sized container, about 6-12 inches in diameter
- A rubber balloon. (about 16 inches for smaller containers, and 24 inches for larger ones)
- Chopsticks, pencils, or something similar to use as drumsticks
- Scissors
- Duct tape
- Construction paper
Directions:
-
- Measure and cut some construction paper to wrap around the container as decoration. Use tape to make it stick.
- Cut the mouthpiece off of the balloon with the scissors.
- Stretch the balloon over the open end of the container and tape security around the rim.
- If the balloon is still too loose, cut some more off or use a smaller balloon.
- Grab your drumsticks and play a tune!
Paper Plate Tambourine
Round out the instrument lineup with a DIY tambourine!
Materials Needed:
-
- Sturdy paper plates (2 per tambourine)
- Decorative materials (glitter, marker, paint, etc.)
- Hole puncher
- Twist ties or string
- 5 Small jingle bells (or something else that jingles – like 10 keys)
Directions:
-
- Put two paper plates together and punch 5 holes around the edges.
- Separate the plates and decorate the undersides however you’d like.
- Once finished and the plates are dried, put them plates back together so that the undersides are facing outwards.
- Use twist ties, pipe cleaner or string, loop and securely tie your bells with 1 at each hole. (If using keys, tie 2 together at each hole)
- All done! Shake and groove and bust a move!


